For this lesson, Emma showed us a variety of techniques that we could use to attach a hair weft/ piece to the head.
There are many ways in which a weft can be attached to the head, these ways include:
-Gluing the weft in, ensuring the glue is as close to the head as possible.
-Sewing the weft in by creating a plait in the hair and sewing the weft to it.
-Clipping it in by creating pin curls and using them as an anchor to attach the weft with pins.
Products/Equipment:
-Variety of hair wefts/pieces
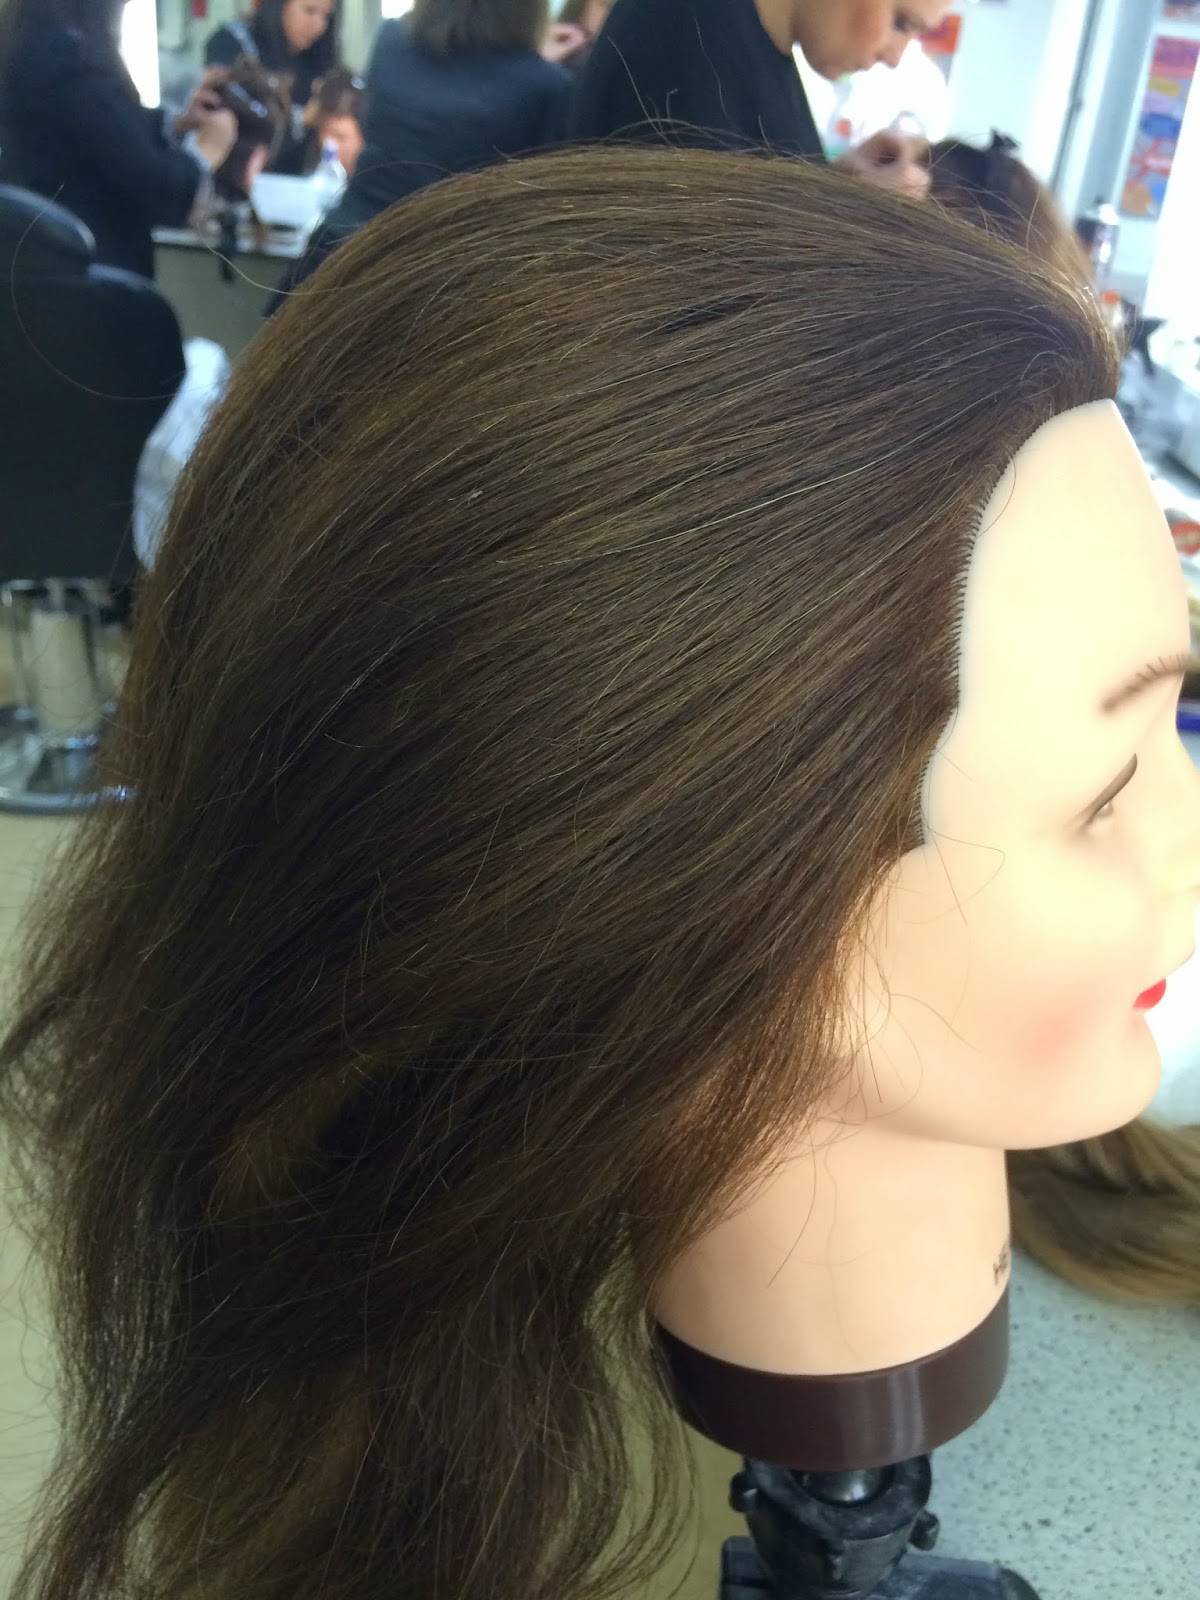
-Dolly head
-Pins and grips
Health and Safety:
-Ensure all equipment is clean and ready to use
-Ensure the work space is tidy
-Ensure the model is positioned at the correct height to avoid RSI
 |
| Fig. 1 Sectioning the hair |
 |
| Fig. 2 Creating pin curls |
 |
| Fig. 4 Attaching the hair piece to the head using pins |
 |
| Fig. 5 Backcombing the hair to add to the volume created by the piece. |
Step by step:
-Firstly, establish where you want the hair weft to sit on the head and section the hair accordingly.
-Create an anchor for the weft to be pinned to by moulding pieces of hair into curls and pinning them flat to the head, crossing two grips over the curl to attach it. For this look in particular, I created three pin curls in the shape of my hair piece so that it would not move once gripped to the head.
-Position the hair piece, checking the mirror for balance and using a hair pin, pin through the edge of the piece and direct it into the anchor.
-Pin the piece in four places ensuring that the hair piece is secure to the head.
-Backcomb the hair piece, creating even more volume and smooth the front section over the top of the piece ensuring a sleek but volumized finish.
Evaluation
What went well:
I really enjoyed this lesson because it was interesting experimenting with different hair pieces. I was happy with how well I managed to attach the piece to the head and I was confident that it was secure. I really loved the volume it added to the hair and thought that the pin curls worked well as anchors. The strong hair pins work great when attaching pieces because they grab a lot of hair.
What I found difficult:
As well as the above piece, I also experimented with attaching a ponytail to the hair. (See bottom) I created a single anchor to attach the hair to and then gripped the ponytail to the head using a hair grip. I wasn't really happy with this attempt and found myself having to reattach the ponytail to the anchor as every time I started to style the hair into a ponytail, the piece became detached. I think I would have liked to use much smaller hair pins when securing the ponytail as I felt the hair grip was sticking out too much and I couldn't get the piece to stick close to the head securely.
What I could improve on:
I think that in order to improve this look I would like to incorporate these techniques into an updo of some sort. Although my intention was to create the hair piece below into a style, I ran out of time in the lesson so this is definitely something that I would like to revisit. I also would have liked to take the above hair piece further by dressing the hair into a more high fashion look using heated appliances.
Overall, I really enjoyed this lesson and liked learning about the different ways of attaching hair pieces and wefts. I really love how hair pieces can completely transform the hair and I look forward to experimenting further with hair pieces in future.


No comments:
Post a Comment